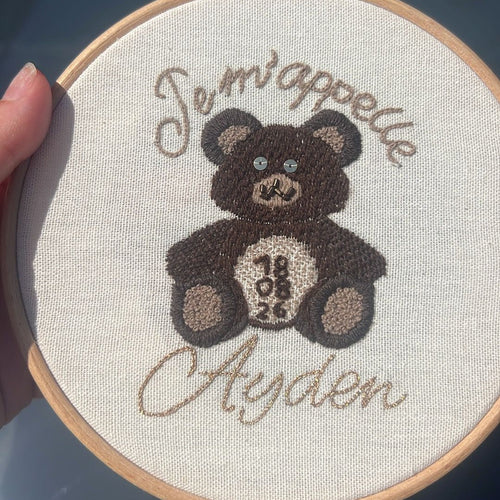
To finish an embroidery in its hoop: re-tension the fabric so it's well centred, trim the excess leaving a 2 to 3 cm margin, close the back with a gathering thread (simple method) or a felt circle sewn on with blanket stitch (neater method), then slip a ribbon loop behind the screw to hang it.
Finishing an embroidery is a moment all its own. The stitches are in place, the pattern is there, and all that's left is to turn this embroidered fabric into something you can hang and look at. This last step deserves just as much care as the rest. It's also the final step in the journey to starting embroidery.
Here's how I go about it.
01. Tension the fabric properly before you start
Before you even think about finishing, check that your embroidery is well centred in the hoop and that the fabric is evenly tensioned. No creases, no areas pulling to one side.
To tension it properly: loosen the tightening screw, place the fabric on the inner ring, place the outer ring on top and press until it clicks into place. Gently pull the fabric in every direction to even it out, then tighten the screw fully, ideally with a flat screwdriver to get it as tight as possible. If the fabric is poorly tensioned at this stage, the whole finish will be uneven.
02. Trim the excess fabric
Once the fabric is well tensioned, turn the hoop over and trim the excess fabric all the way round, leaving about 2 to 3 cm of margin from the ring. No less — you'll need it for the finishing.
03. Close the back
Two options depending on the level of finish you want.
The simple method: a gathering thread
Thread a strong thread (ordinary sewing thread, doubled) and run a basting stitch all around the excess fabric, about 1 cm from the edge. Once you've gone all the way round, pull the thread to gather the fabric towards the centre, like a drawstring pouch. Adjust the gathers so they're even, then tie a firm knot. The back is covered, and the hoop is ready.
The neat method: felt with blanket stitch
For a cleaner result, cut a felt circle to the exact size of the inside of the hoop. Sew it onto the back, covering the gathers, using a curved needle if you have one (it makes things much easier in a tight space), or a small straight needle otherwise. Use blanket stitch all the way round for a neat, even edge.
This is the finish I prefer: the back is as neat as the front.
04. Hang it on the wall
The simplest way: slip a ribbon or string behind the tightening screw before fully tightening it, form a loop, and hang it directly on a nail. Discreet and effective.
If you want something sturdier, sew a small metal ring or hook onto the felt on the back before sewing it on. It will be invisible once the embroidery is hung.
Discover Faïença kits, fabric, thread and hoop included.