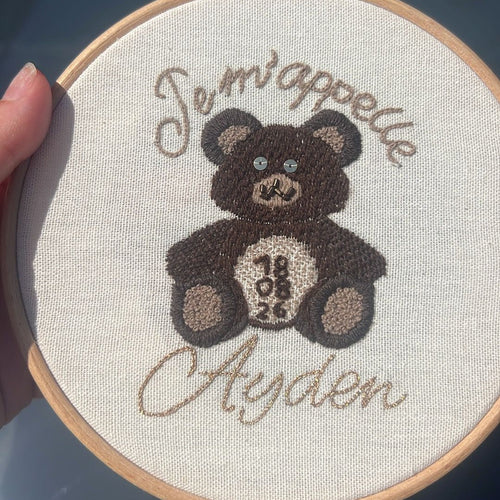
Everything seemed to be off to a good start: the design was transferred, the threads chosen, the fabric set in the hoop. Then small ripples appeared around the stitches. Or perhaps you discovered the problem when you took your embroidery out of the hoop: the design is lovely, but the fabric is drawn in all around it.
This puckering doesn't mean you have to start your piece again. Above all, it's an invitation to look at three things: how the fabric is held, the tension of your stitches and the thickness of the thread.
Start by identifying the type of crease
A circular mark left by the hoop and creases that converge towards the design don't tell the same story.
The first corresponds to where the two rings gripped the fabric. The second can appear when the stitches draw the threads of the fabric together instead of simply resting on its surface.
Remove the hoop and lay the work flat, without pulling. Look at where the creases begin. If they follow a densely filled area, focus your attention on that part. If they appear across the whole piece, also check the fabric and how it was set up.
Pull the thread just enough
When you're starting out, you may be tempted to pull hard to get a nice crisp stitch. Yet a stitch that's too tight can distort the fabric.
Try slowing down at the end of the movement. Draw the thread through, then stop pulling as soon as the stitch sits properly on the surface. The fabric shouldn't dip at its end.
To get a feel for this, embroider a short line on a scrap of fabric. Compare a few deliberately tight stitches with stitches laid more gently. This little exercise helps you recognise the moment when the thread starts to drag the fabric with it.
Check the hoop
Fabric that slackens while you embroider makes it harder to stitch evenly. Check from time to time how it's held and gently readjust it if needed.
The aim is a stable surface, with a design that keeps its shape. If your drawn circle becomes an oval once the fabric is in the hoop, you've probably stretched it unevenly.
Also avoid leaving a work in progress clamped in the hoop for a long time: the rings can mark the fabric. Between sessions, loosen them or take the work out when that suits the project.
Match the thread to the design
A tiny leaf a few millimetres long doesn't need the same thread thickness as a large flower. Thread that's too bulky can make it hard to pass through the fabric and encourage you to pull harder.
If your pattern specifies a number of strands, start with that. For your own adaptation, test a finer thickness on a scrap, with the same stitch and the same fabric.
Look at the size of the design too. Shrinking a design considerably without adapting its stitches can produce an overcrowded area. Details that work at ten centimetres wide sometimes become difficult to embroider at five.
Can you fix embroidery that has already puckered?
Simply laying it flat may be enough for a superficial crease. On the other hand, re-tightening the hoop firmly won't correct stitches that are too tight: it can only hide the problem for as long as the work stays in the hoop.
If a small area is clearly to blame, unpick it carefully, without cutting the fabric, then stitch it again with gentler tension. Start with just a few stitches and look at the result.
Whether you can iron depends on the fabric, the threads and any embellishments. Check their care instructions before you do anything, and avoid flattening raised areas. Ironing is no substitute for correcting stitches that genuinely distort the fabric.
For your next embroidery, remember this guideline above all: the thread should draw the design without pulling the fabric towards it. A few test stitches before you begin can save you a lot of second-guessing.
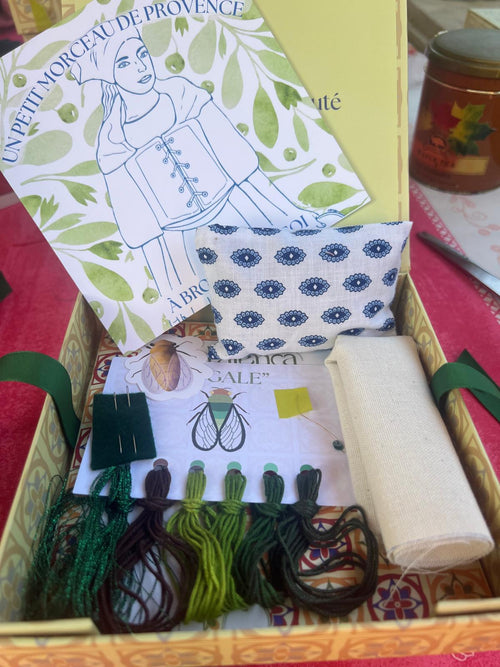
Fancy embroidering with a guided project? Discover Faïença kits and their stitching instructions.