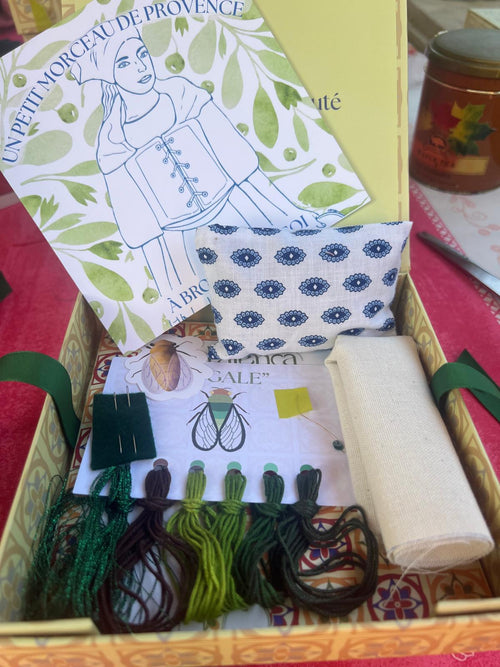
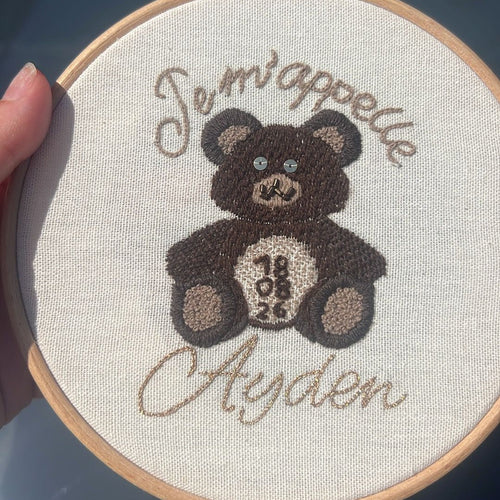
There are four reliable methods for transferring a pattern onto fabric: pouncing with pounce powder (the most traditional), an adhesive sheet run through a printer, tracing on a light table or window, and carbon paper. The choice depends on the fabric, how fine the pattern is, and the materials you have on hand. With a Faïença kit, the pattern is already printed on the fabric: there's nothing to transfer.
Before you can embroider, the pattern needs to be on the fabric. It's a step many tutorials cover in two lines, even though it deserves more attention. Done badly, it can ruin fabric or leave you embroidering crooked. Done well, it becomes almost a ritual. If you're a beginner, it's one of the steps detailed in the guide to starting embroidery.
Here are the four methods I use, from the most traditional to the most practical.
01. Pouncing + pounce powder
This is the method professional embroiderers use, the one used in workshops for centuries. It takes a little time but it's precise, reversible, and works on all types of fabric.
How to do it:
- Print or trace your pattern onto tracing paper.
- With a needle or a tracing wheel, perforate the outline of the pattern with small, regular holes every 2 to 3 mm.
- Place the perforated tracing paper on your fabric and pin it so it doesn't move.
- With a pad or a small brush, tap pounce powder (white powder on dark fabric, black powder on light fabric) through the holes.
- Carefully lift the tracing paper away. The powder dots form the outline of the pattern on your fabric.
- Check that the pattern is well marked all along the outline. If some areas are missing, you can fill them in with a washable pen or tailor's chalk.
- Spray the fabric with fixing alcohol or hairspray, to fix the powder.
- Iron the fabric with a cotton cloth between the iron and your fabric, so you never place the iron directly on the piece.
This is the method I use day to day. It requires a bit of equipment at first, but it gives a very clean result and doesn't mark the fabric permanently.
02. Adhesive sheet + printer
I didn't think this was possible, and now I use it to print the fabric for the embroidery kits. It's perfect for transferring precise patterns with fine details, with no risk of distortion.
How to do it:
- Take an adhesive sheet (the kind found at stationery shops for labels, with a smooth side and a sticky side).
- Cut your fabric to the size of the sheet, or slightly smaller.
- Stick the fabric onto the adhesive side of the sheet, fabric flat, with no bubbles.
- Feed the whole thing into your printer, fabric side facing the print, and print your pattern as normal.
- Peel the fabric off the sheet. The pattern is printed directly onto the fabric.
A few precautions: make sure your fabric is properly smooth on the sheet to avoid jams. Test on a scrap first if you're using a precious fabric. The ink isn't always washable, so keep that in mind if your embroidery is meant to be washed.
03. A light table or a lit window
The most accessible method, with no special equipment. It works well on thin to medium-weight fabrics, less well on very dense or dark fabrics.
How to do it:
- Print or draw your pattern on plain paper.
- Hold the paper against a light source: a window in daylight, a light table, or your computer or tablet screen.
- Place your fabric over it and hold it in place with masking tape.
- The pattern shows through the fabric. Trace it with a water-soluble watercolour pen, tailor's chalk, or a fabric pencil.
If you're using a tablet, remember to lock the screen before you start: turn on rotation lock, turn brightness up to maximum, and disable auto-sleep in the settings. Nothing is more frustrating than the screen going dark halfway through tracing.
Simple, quick, no purchase needed. You almost certainly have one of these options within reach.
04. Carbon paper
A reliable, quick, and easy-to-find method. Carbon paper comes in several colours — choose a shade that contrasts with your fabric so the lines are clearly visible.
How to do it:
- Lay your fabric flat.
- Slide a sheet of carbon paper on top, coloured side against the fabric.
- Place your printed pattern on top of that.
- Hold everything in place with pins or masking tape to prevent slipping.
- Trace over the outline of the pattern with a pen or a dry point, pressing firmly. The lines transfer onto the fabric.
- Remove the carbon paper and the pattern. The outline is ready.
Which one should you choose?
It all depends on your level and what you have on hand.
If you're a beginner and want to embroider without overthinking it: the lit window or carbon paper are more than enough. And if you choose a Faïença kit, the fabric arrives with the pattern already printed — there's nothing to transfer.
If you have a PDF pattern and materials: the adhesive sheet is quick and precise.
If you want to do this seriously and you're experienced: pounce powder is the cleanest method and the gentlest on the fabric.
Once your pattern is embroidered, all that's left is mounting and framing your hoop.
Find Faïença patterns as PDFs and as kits.